The quick answer
Photo to SVG conversion stylizes color regions rather than preserving a photograph losslessly. High-contrast silhouettes usually produce simpler vectors than fully detailed color photos. A physical stencil also needs connecting bridges.
Convert photo to stencil SVG: what matters
A stencil must remain connected after its interior areas are removed. Automatic tracing can create floating islands in eyes, letters, and enclosed regions.
Use a high-contrast trace as a starting point, then add bridges in a vector editor. Check the physical size and minimum bridge width for your material before cutting.
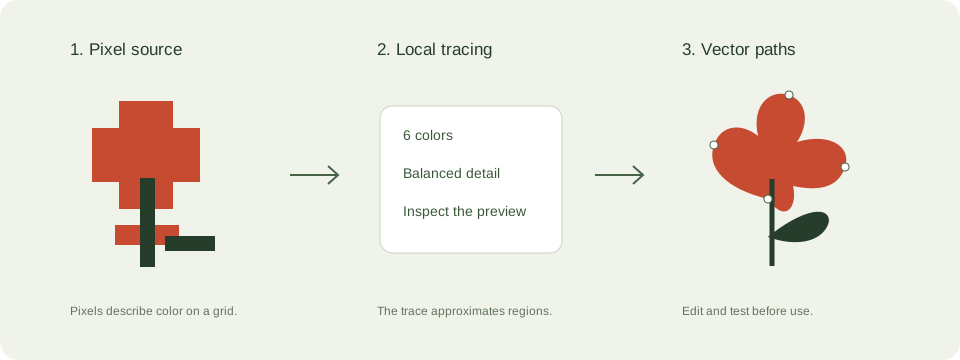
A practical photos and stencils workflow
- Choose a photo with a separated subject and crop away busy surroundings. Correct deep shadows before tracing.
- Try the silhouette preset for stencil artwork or 12 colors for a stylized color version.
- Inspect facial features, narrow bridges, and isolated shapes. Automatic tracing does not add stencil bridges.
- Edit the downloaded SVG to connect islands before cutting a stencil, or retain a raster format when photographic realism matters.
Check these details before you export
- Adding colors increases complexity but does not restore camera detail.
- A stencil must hold together physically; screen appearance alone is insufficient.
- Use source photographs and likenesses you have permission to process.
Where this workflow stops
The converter does not reconstruct lost pixels, create stencil bridges, or guarantee practical cutting geometry.
For a first local trace, use the JPEG to SVG converter. If you are working with transparent artwork, read the PNG transparency guide. Keep an original file so you can compare your changes.
Reference and further reading
Inkscape: tracing limitations provides background for this workflow. Platform requirements and editor features can change; check the current instructions for your destination.
Written for JPEGtoSVG by Shahab Uddin. These guides describe practical checks and limitations; they do not promise lossless tracing or automatic machine-ready output.