The quick answer
To convert an image to SVG for Cricut, trace high-contrast artwork with few colors, remove a plain white background if appropriate, and inspect the paths in Design Space before cutting. A vector preview does not guarantee a clean physical cut.
Convert image to SVG for vinyl cutting: what matters
Vinyl artwork needs readable shapes at the actual cut size. Tiny details that appear clear on a large screen can be difficult to weed from a small decal.
Start with bold silhouettes, inspect enclosed holes, and simplify unnecessary islands in a vector editor before importing into cutter software.
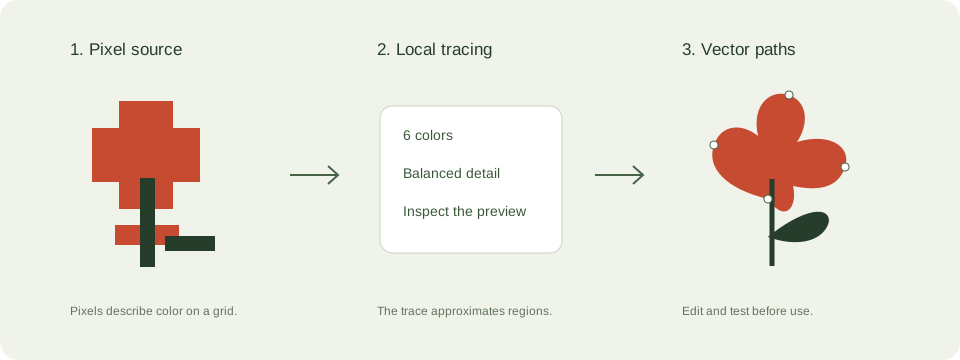
A practical svg for cricut workflow
- Crop and clean the source. Bold artwork is easier to cut than a detailed photograph or faint pencil drawing.
- Use the silhouette preset for a one-color cut, or a small palette for separate layers. Remove white only when it is a background rather than part of the design.
- Download and import into Design Space. Look for tiny islands, unintended background pieces, closed holes, and overlapping regions.
- Resize to the intended material size and make a small test cut before committing expensive vinyl or cardstock.
Check these details before you export
- A line-looking shape can be a thin filled outline rather than a single drawing stroke.
- Small islands make weeding difficult. Reducing source detail can be more helpful than adding colors.
- Blade, material, pressure, and machine settings belong to the cutting workflow, not the SVG file.
Where this workflow stops
PDF upload is not supported here. Preserve genuine PDF vectors in a vector editor, or export an image from a document you own before tracing it.
For a first local trace, use the JPEG to SVG converter. If you are working with transparent artwork, read the PNG transparency guide. Keep an original file so you can compare your changes.
Reference and further reading
Cricut Help: uploading images provides background for this workflow. Platform requirements and editor features can change; check the current instructions for your destination.
Written for JPEGtoSVG by Shahab Uddin. These guides describe practical checks and limitations; they do not promise lossless tracing or automatic machine-ready output.